mfc-imageProcessing window masking을 해보자
2018, Jun 17
이번에 할 것은 3x3, 5x5 사이즈의 윈도우 마스크를 만들어 이미지에 적용해보는 것이다.
먼저 마스크의 값과 이미지의 값을 곱한뒤 더하는, 즉 평균값을 넣는 마스크 작업을 해보자.
ImageProc.h
class ImageProc
{
    ...
public:
    static void MaskingImage3x3(unsigned char* image_input,
    const int width, const int height, float mask[3][3]);
}
ImageProc.cpp
void ImageProc::MaskingImage3x3(unsigned char* image_input,
	const int width, const int height, float mask[3][3])
{
	unsigned char* temp = new unsigned char[width*height];
	memcpy(temp, image_input, sizeof(unsigned char)*width*height);

	for (int j = 0; j < height; j++)
	{
		for (int i = 0; i < width; i++)
		{
            // 마스크와 이미지의 곱의 합을 저장할 변수
			float sum = 0.f;
			for (int y = -1; y <= 1; y++) // 3x3 이므로 -1부터 1까지 반복한다.
			{
				for (int x = -1; x <= 1; x++)
				{
                    // 바운더리 넘는 인덱스이면 continue 한다.
					if ((x + i) >= width || (x + i) < 0 ||
						(y + j) >= height || (y + j) < 0) continue;

                    // 이미지의 픽셀과 마스크의 픽셀 값을 곱하고 이 값들을 더한다.
					sum += image_input[width*(j + y) + (x + i)]
						* mask[y + 1][x + 1];
				}
			}
            // temp에 바뀐 이미지를 저장한다.
			temp[width*j + i] = static_cast<unsigned char>(sum);
		}
	}

    // temp 의 값을 원래 버퍼로 옮기고 temp는 삭제한다.
	memcpy(image_input, temp, sizeof(unsigned char)*width*height);
	delete[] temp;

}
마스크해서 이미지를 변경하는 작업을 완료했다. 이제 위 함수를 사용하는 함수를 만들어야 하는데 그전에 칼라이미지의 RGB 채널을 단일 R채널, G채널, B채널로 분리하는 함수와 반대의 기능을 하는 함수가 있어야 한다.
ImageProc.h
class ImageProc
{
public :
    // 여러 채널을 하나로 합치는 함수
    static void MergeChannels_RGBToColor(unsigned char* in_R,
		unsigned char* in_G, unsigned char* in_B, unsigned char* out_color,
		const int width, const int height);

    // 칼라이미지를 여러 채널로 나누는 함수
	static void SplitChannels_ColorToRGB(unsigned char* out_R,
		unsigned char* out_G, unsigned char* out_B, unsigned char* in_color,
		const int width, const int height);
}
ImageProc.cpp
    void ImageProc::MergeChannels_RGBToColor(unsigned char* in_R,
		unsigned char* in_G, unsigned char* in_B, unsigned char* out_color,
		const int width, const int height)
    {
        for(int i=0; i<width*height; i++)
        {
            out_color[i*4 + 0] = in_B[i];
            out_color[i*4 + 1] = in_G[i];
            out_color[i*4 + 2] = in_R[i];
        }
    }

    void ImageProc::SplitChannels_ColorToRGB(unsigned char* out_R,
		unsigned char* out_G, unsigned char* out_B, unsigned char* in_color,
		const int width, const int height)
    {
        for(int i=0; i<width*height; i++)
        {
            out_B[i] = in_color[i*4 + 0];
            out_G[i] = in_color[i*4 + 1];
            out_R[i] = in_color[i*4 + 2];
        }
    }
ImageProc.h
class ImageProc
{
    ...
public:
    // 마스크를 만들고 위의 마스크 적용 함수를 콜하는 함수이다.
    static void static void AveragingImageUsingMask(unsigned char* image_color,
		const int width, const int height);
}
ImageProc.cpp
void ImageProc::AveragingImageUsingMask(unsigned char* image_color,
    const int width, const int height)
{
    // 함수 인자로 넣어줄 mask 를 만든다.
    float mask[3][3] =
	{
		{ 1.f / 9.f, 1.f / 9.f, 1.f / 9.f },
		{ 1.f / 9.f, 1.f / 9.f, 1.f / 9.f },
		{ 1.f / 9.f, 1.f / 9.f, 1.f / 9.f }
	};


    // color 이미지에 적용하기 위해 이미지를 단일 채널로 분리한다.
    // 각각의 단일 채널 버퍼를 생성한다.
	unsigned char* image_R = new unsigned char[width*height];
	unsigned char* image_G = new unsigned char[width*height];
	unsigned char* image_B = new unsigned char[width*height];
    // 단일 채널로 분리한다.
	SplitChannels_ColorToRGB(image_R, image_G, image_B, image_color, width, height);
    // 채널별로 마스크를 적용한다.
	MaskingImage3x3(image_R, width, height, mask);
	MaskingImage3x3(image_G, width, height, mask);
	MaskingImage3x3(image_B, width, height, mask);
    // 마스크 적용된 채널을 다시 하나의 채널로 합한다.
	MergeChannels_RGBToColor(image_R,image_G,image_B,image_color,width,height);
    // 사용하지 않는 단일 채널을 삭제한다.
	delete[] image_R;
	delete[] image_G;
	delete[] image_B;
}
이벤트 처리기를 달고 알맞은 순서로 함수를 호출한다.
ImageProcessingDoc.h
class CImageProcessingDoc: public CDocument
{
public:
    afx_msg void OnWindowmaskingAveraging();
}
ImageProcessingDoc.cpp
void CImageProcessingDoc::OnWindowmaskingAveraging()
{
ImageProc::AveragingImageUsingMask(m_Images[cur_index].image_color,
m_Images[cur_index].width, m_Images[cur_index].height);
// 작업한 칼라이미지를 흑백이미지에도 복사
ImageProc::MergeChannels(m_Images[cur_index].image_color,
m_Images[cur_index].image_gray, m_Images[cur_index].width, m_Images[cur_index].height);
CImageProcessingView* pView = (CImageProcessingView*)((CMainFrame*)(AfxGetApp()->m_pMainWnd))->GetActiveView();
pView->SetDrawImage(m_Images[cur_index].image_color, m_Images[cur_index].image_gray,
m_Images[cur_index].width, m_Images[cur_index].height);
pView->OnInitialUpdate();
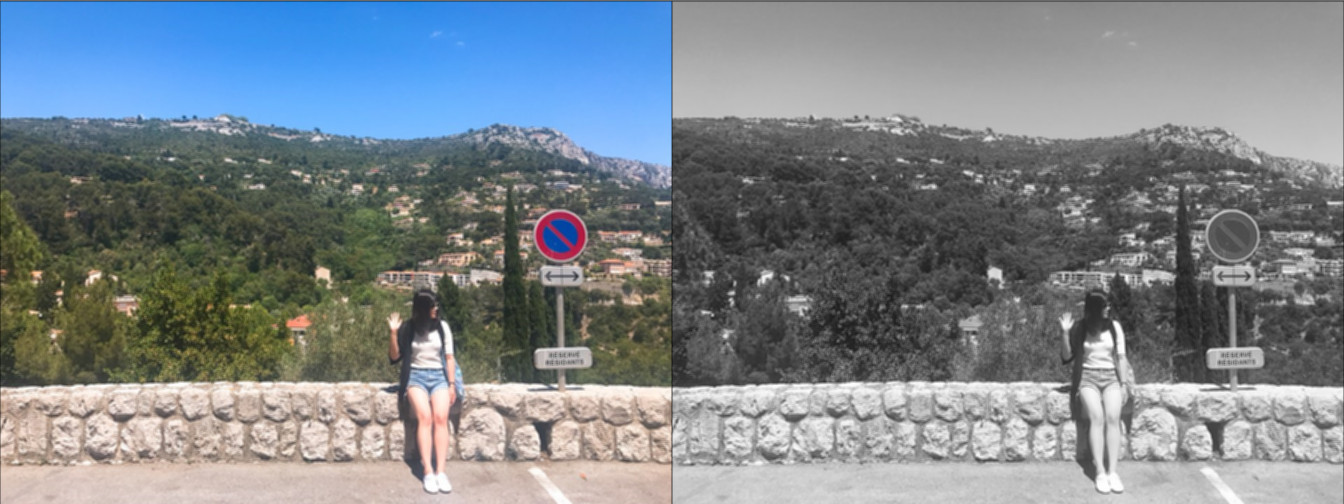
} 위와 같은 이미지가 실행하면 아래와 같이 보인다.
위의 코드를 이용하여 5x5 사이즈의 윈도우 마스크를 만들어 적용해보자. 결과는 다음과 같다.
